Page 1 of 1

Stabilizers Complete!

PostPosted: Mon Nov 10, 2014 2:36 am
by Ironflight
We’ve been enjoying nice building weather out in our shop the past week or so, and are happy to report that we’ve gone as far as we can go on the tail surfaces at this time. With the Ruddervators and Rudder complete, and the stabilizers as far as we can get them without a fuselage on which to mount them, I guess it is time to move on to that fuselage. Looks like lots of little pieces to fabricate for the next few sessions.

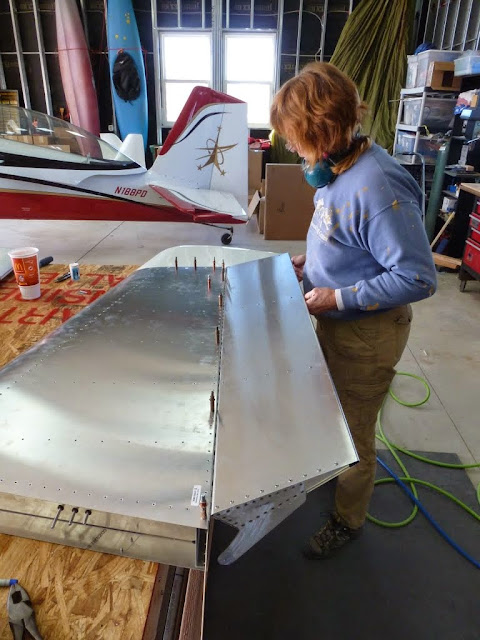
Right Stab complete – doing a fit check with the Ruddervator:
Image

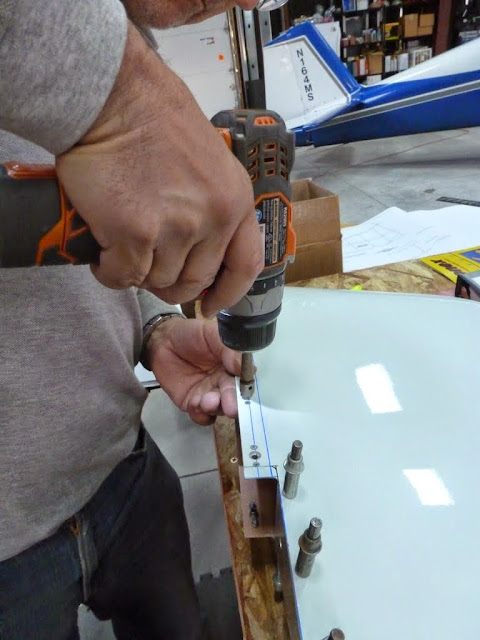
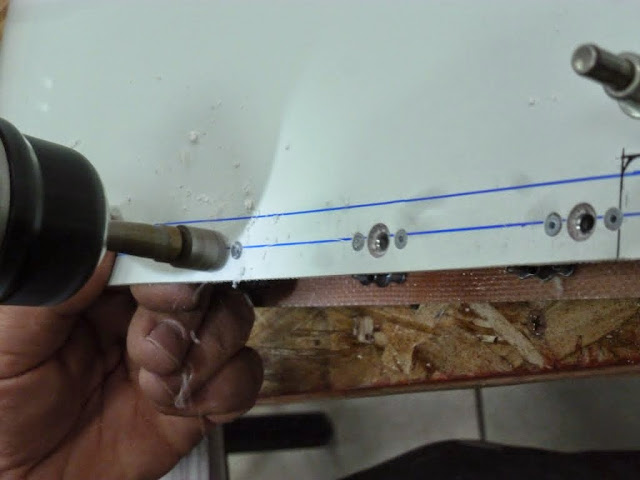
A very quick way to countersink the holes for the skin dimples that fit the screws to hold the tips on the stabs. We just use a countersink bit in a “suicide Mandrel” mounted in the hand drill. This is the final step after mounting the nutplates – the nutplates centers the countersink bit and acts as a stop when it has gone deep enough. The fit? Perfect!
Image

Image

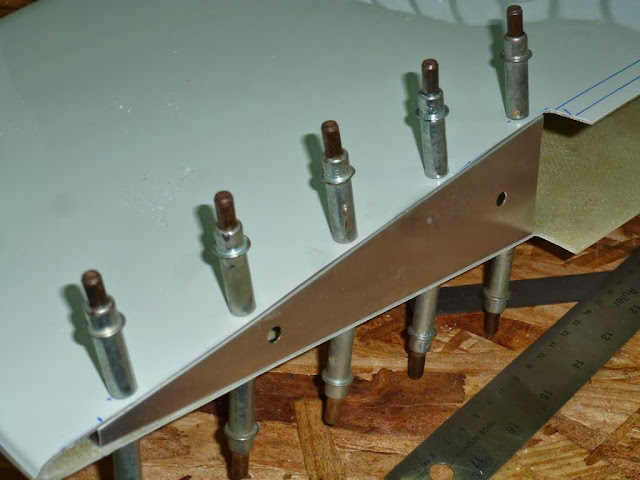
The tip rib is easy to install with a few measurements and some clecos:
Image

Paul

Re: Stabilizers Complete!

PostPosted: Mon Nov 10, 2014 9:04 am
by MichaelFarley56
The project is off to a great start Paul! The tail feathers are looking great! I love your shop by the way; a couple of beautiful RV's, lots of work area...every homebuilders dream!

Also, I have to ask; after the RV-3's paint job, I'm curious what you're thinking for the Xenos. Are you going to keep the paint job simple or go wild? :ugeek: :mrgreen:

Looking great sir!

Re: Stabilizers Complete!

PostPosted: Mon Nov 10, 2014 9:15 am
by DCASonex
Saw your photo and note on the countersink for de-burring. Used something similar but I think better. A piloted countersink reground to a rounded profile more like a ball end mill. This takes off the burr without leaving a countersink. May take a couple of ties to get cutting angle right, grind it back a bit so that the bit does not dig in, but just skims off the burr. For pilot, I used one for 3/32" for the 1/8" rivet holes. Letting it move around a bit made a neater de-burring job. Later adapted one of the automatic two sided de-burring bits to small power screwdriver, but still often use that modified countersink as it is faster for one sided burrs and heavier burrs.

David A.

Re: Stabilizers Complete!

PostPosted: Mon Nov 10, 2014 3:28 pm
by Ironflight
DCASonex wrote:Saw your photo and note on the countersink for de-burring. Used something similar but I think better. A piloted countersink reground to a rounded profile more like a ball end mill. This takes off the burr without leaving a countersink. May take a couple of ties to get cutting angle right, grind it back a bit so that the bit does not dig in, but just skims off the burr. For pilot, I used one for 3/32" for the 1/8" rivet holes. Letting it move around a bit made a neater de-burring job. Later adapted one of the automatic two sided de-burring bits to small power screwdriver, but still often use that modified countersink as it is faster for one sided burrs and heavier burrs.

David A.


That's great information on deburring Dave - we do something similar. In this case, we're actually using the bit to countersink the fiberglass, not debur, so we wanted the right angle for the aluminum dimple to nest in - that's why we used the piloted countersink (an old one - fiberglass ruins bits really quickly).

Far too early in the build to think about paint jobs BTW, but I expect we'll go a bit simpler that on our RV-3.....no use paying more for paint than you do for the whole airplane!

Paul