Page 5 of 35

Re: Scott's Sonex #1629 - Progress

PostPosted: Sun Mar 16, 2014 8:38 pm
by ScottM-Sonex1629
Quick progress update. Aft F-box is almost completely updrilled and ready for deburring. Spent a lot of time checking and reading the plans this weekend. Many details and some confusing aspects to how every area goes together. So far so good!

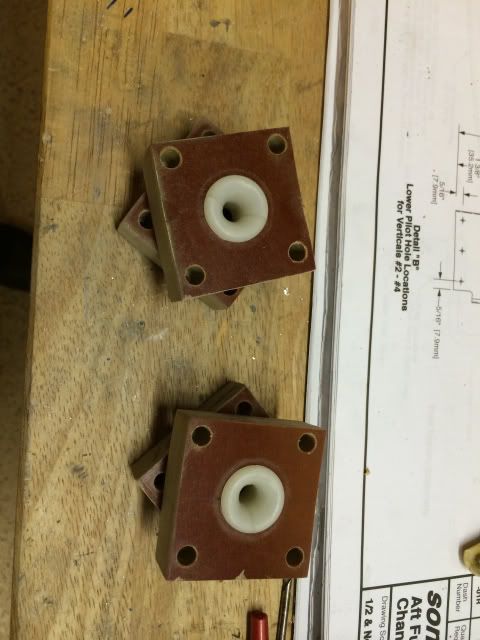
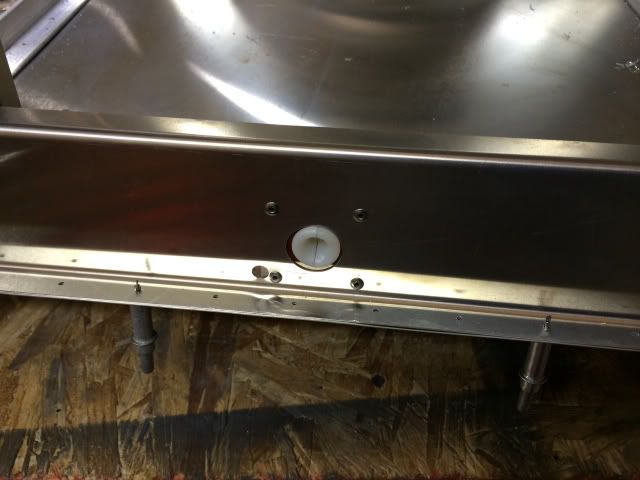
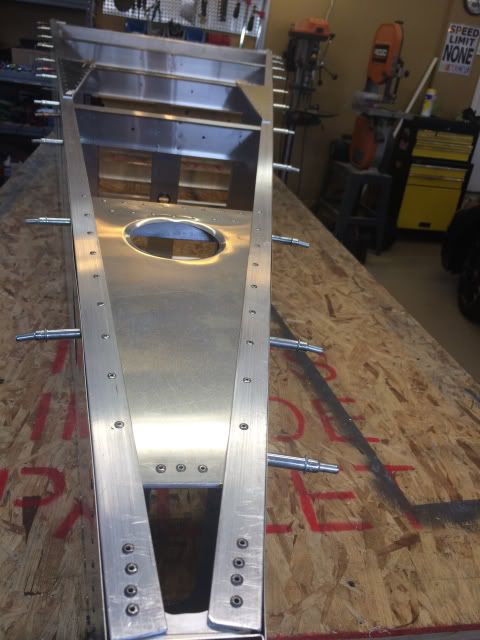
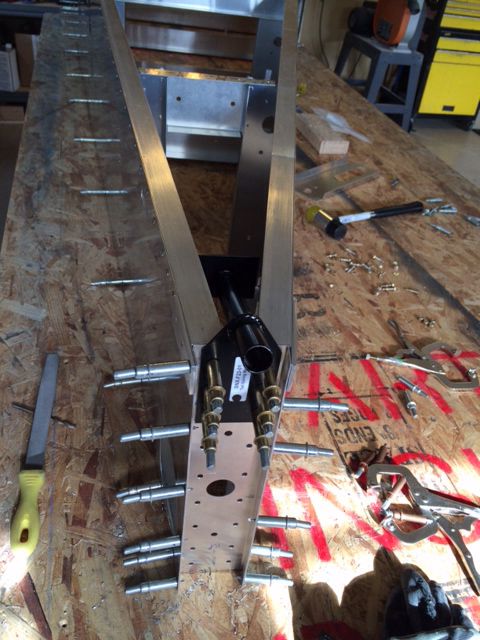
Tail skid / tail wheel mount in lower vertical stab channel.
Image

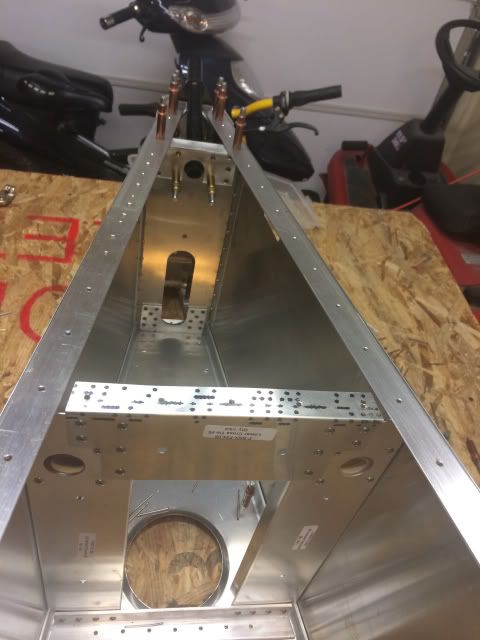
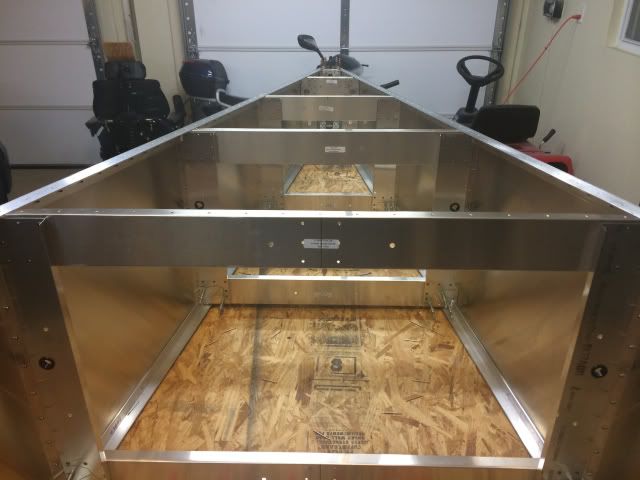
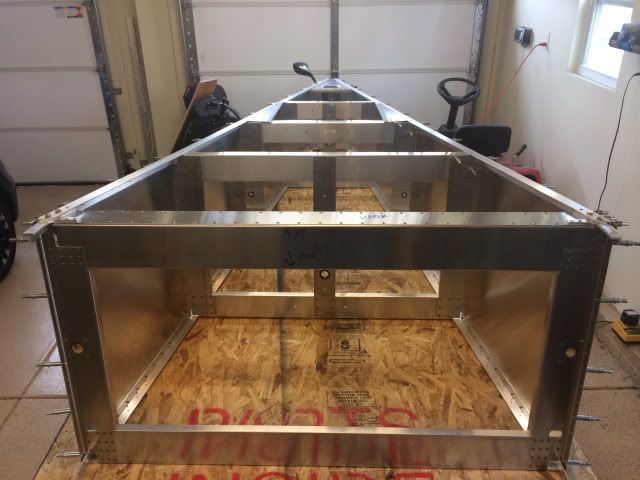
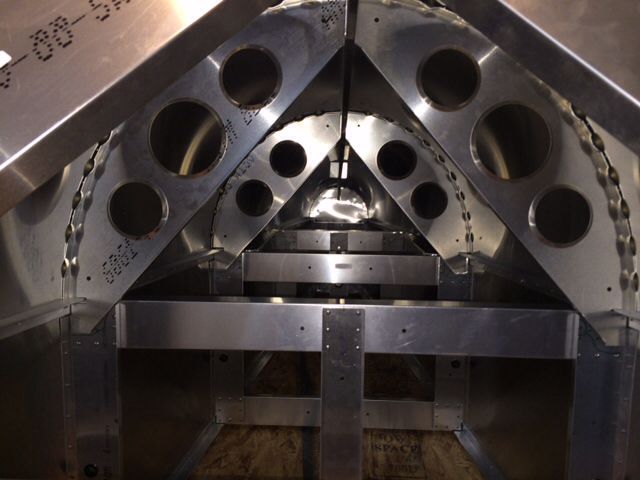
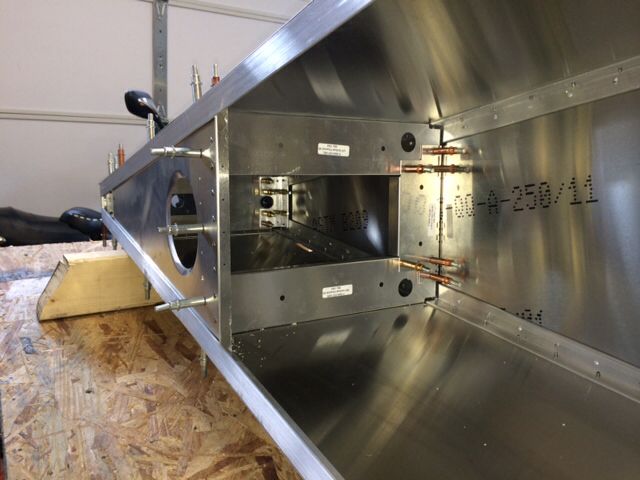
Tail section of aft fuselage, it's tight and busy back here:
Image

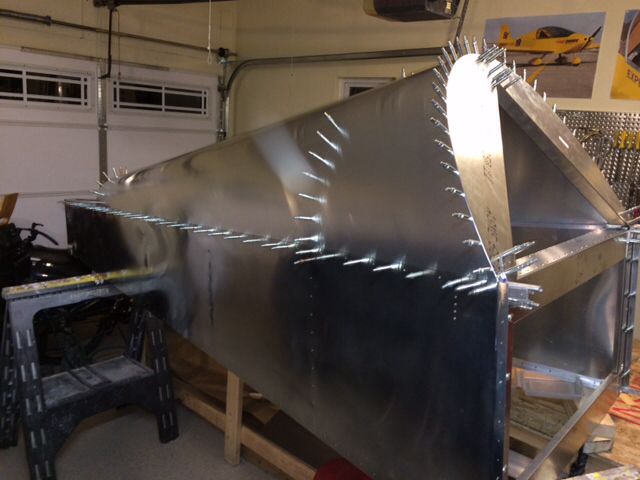
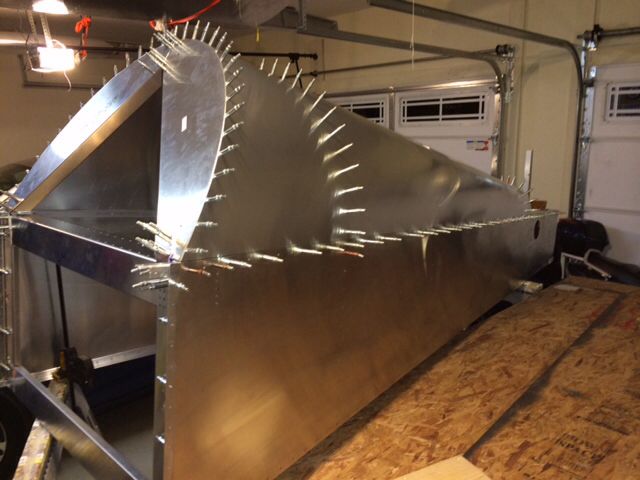
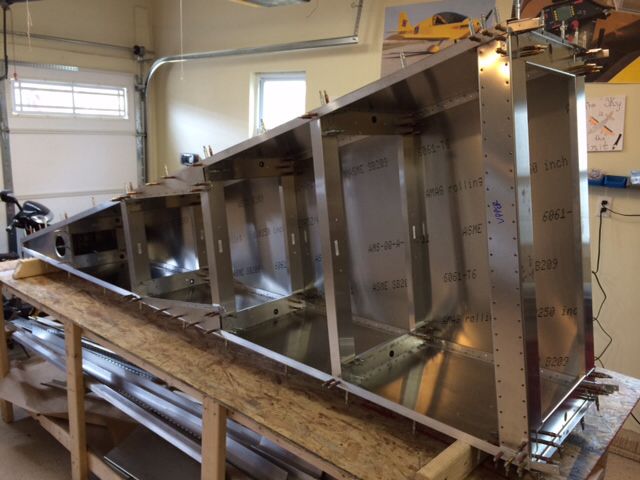
Aft fuselage all tied together and up on its side. Seat belt harness attach point is connected.
Image

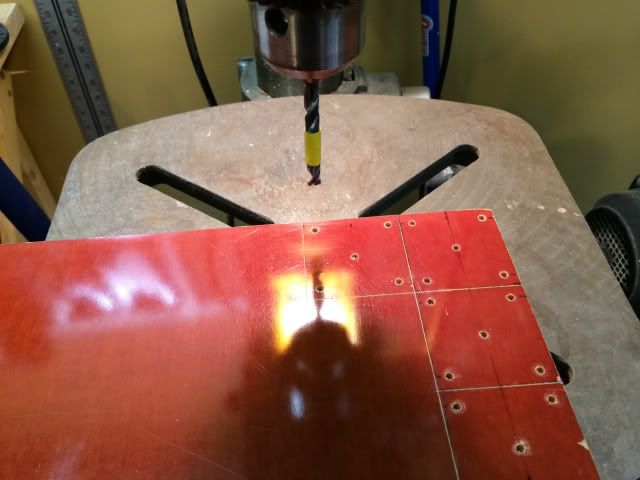
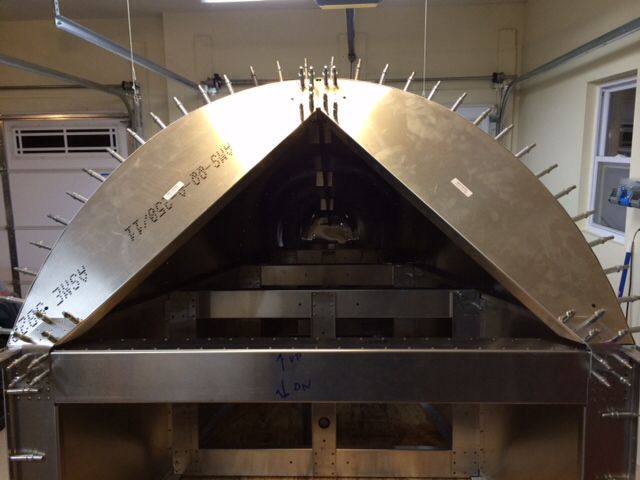
Bottom skin is pilot/updrilled to #30
Image

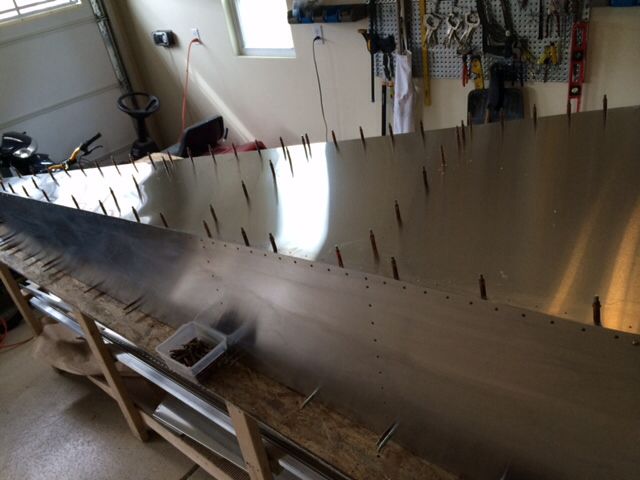
All splice plate connectors and upper box beam located and updrilled to final size
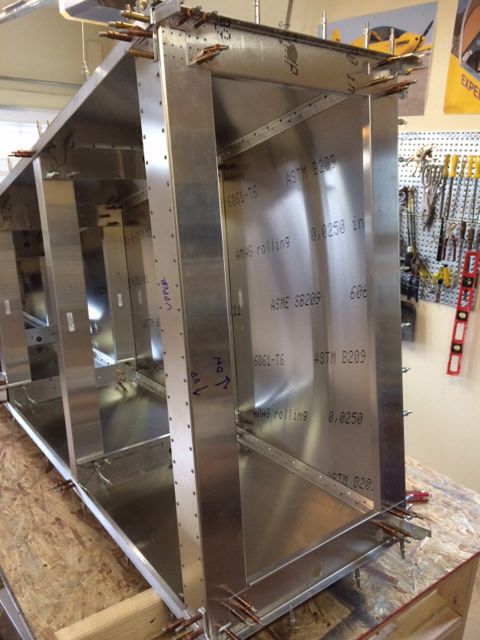
Image

Re: Scott's Sonex #1629 - Progress

PostPosted: Sun Mar 16, 2014 8:49 pm
by Rynoth
Hi Scott, looks good! I see that you already drilled your upper splice plates up to size... I'm just going to reiterate here what I've said in Bryan Cotton's build, to watch for the 40" width of the fuselage, since the laser cut parts don't exactly result in the 40" width you (I) think it should, unless you trim a bit from the cross tie box.

Your pictures look great! Do you have a blog/website of your progress other than this forum? I would love to keep up with your build!

Re: Scott's Sonex #1629 - Progress

PostPosted: Sun Mar 16, 2014 9:25 pm
by MichaelFarley56
Looking great Scott! You've been busy!

Let me know if you need any help with anything. Keep it up!

Re: Scott's Sonex #1629 - Progress

PostPosted: Sun Mar 16, 2014 9:42 pm
by ScottM-Sonex1629
Rynoth wrote:Hi Scott, looks good! I see that you already drilled your upper splice plates up to size... I'm just going to reiterate here what I've said in Bryan Cotton's build, to watch for the 40" width of the fuselage, since the laser cut parts don't exactly result in the 40" width you (I) think it should, unless you trim a bit from the cross tie box.

Your pictures look great! Do you have a blog/website of your progress other than this forum? I would love to keep up with your build!


Hey Ryan:

Thanks to your prior post, I did pre- measure the width at the upper area of the fuselage where the box beam goes, and I trimmed about 1/16" of material off both sides of the assembly. Without doing this I could not get the cross piece to fit in with the splice plates. With this updrilled to final size, I am right at 40" of width.

I have a simple Expercraft web-site that I keep for future FAA airworthiness inspection. I started posting to this forum with updates with milestones. Thanks for your kind words.

Mike - I wish I needed more help. This project for the most part is pretty easy to do by yourself. I can't even convince my son to help anymore...so I've learned how to do most tasks solo.

Re: Scott's Sonex #1629 - Progress

PostPosted: Sun Mar 16, 2014 9:43 pm
by Bryan Cotton
I agree, looks great! When I first saw the tailpost picture I thought "where is the rest of the Y fitting?" Then I remembered than not everybody is a fork-tailed devil.

Re: Scott's Sonex #1629 - Progress

PostPosted: Sun Mar 16, 2014 9:50 pm
by ScottM-Sonex1629
I still need to make the 2"x2" fair lead blocks for the rudder cables. When I was at that step, it became apparent that Aircraft Spruce did not supply the phenolic sheet material (3/4") with the hardware kit I ordered. The material came in recently but I have skipped over making them....but I did buy one of these adjustable brake honing tools.

Brian - yes, I am just building a standard tail Sonex. I liked the looks of the Waiex but in talking to a few owners talked myself out of it...

Re: Scott's Sonex #1629 - Progress

PostPosted: Sat Mar 22, 2014 11:18 pm
by ScottM-Sonex1629
I have been making steady progress this week. Everything is now fabricated and drilled to size. Last night I got around to fabricating the fair lead blocks. Kinda fun and also smelly. I used the drill press to make all of the holes in the 3/4" phenolic block, and if you press to hard or drill to fast the phenolic material starts to smoke / smolder. Not good. I got all four blocks made and mated to the vertical channels at station 1 and and 5.

Image

Image

Image

Then it was deburring and disassembly time. Final concluded this a few hours ago and figured it was time to rivet the cross bracing and rear angles and tail skid mount to the side panels. The basic structure is done, up through the cross bracing at station 2.

Image

Image

If the weather holds out I'm flying tomorrow in a 172 to hopefully complete my (biennial) flight review so I can be legal again!

I might slip some assembly / riveting time in there also tomorrow and get this portion finished!

Re: Scott's Sonex #1629 - Progress

PostPosted: Sun Mar 23, 2014 12:28 pm
by ScottM-Sonex1629
The aft F-box structure is al riveted together! I can move onto the turtle deck now! It's starting to look like an airplane! Unfortunately the winds today are pushing 19 knots Crosswind at my home airport (MRT)...so another cancelled flight.

Image

Image

Re: Scott's Sonex #1629 - Progress

PostPosted: Mon Mar 24, 2014 7:34 am
by Bryan Cotton
Looks good Scott. I appreciate the pictures, as I am right behind you here.

Re: Scott's Sonex #1629 - Progress

PostPosted: Mon Mar 24, 2014 5:44 pm
by ScottM-Sonex1629
Hi Bryan, thanks for the reply. Not really covering any new material here...but I agree it's always nice to see pictures. I kept going last night and connected the turtledeck skins and mated / drilled this to the longerons. I went through the process of fitting the #5 former, and then both sides of the #1 formers. After that I set the rest of them in and began drilling the #2 formers. It's starting to look like the arse end of an airplane!

Image

Image

Image

Image