Re: Ken's Sonex 1243
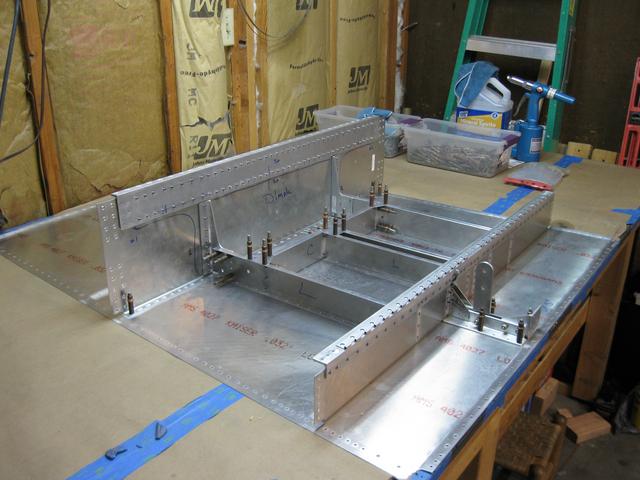
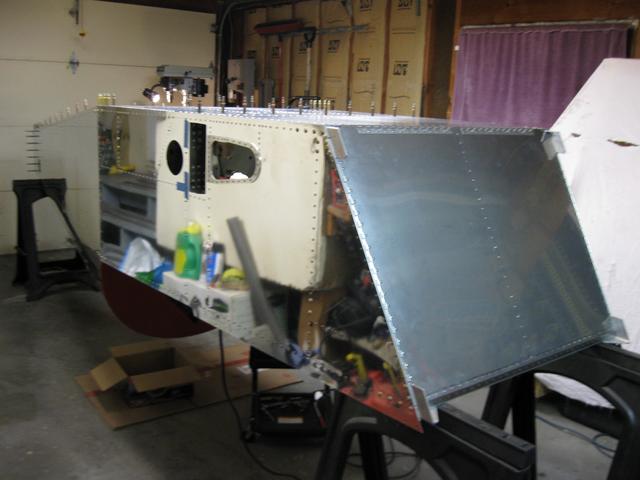
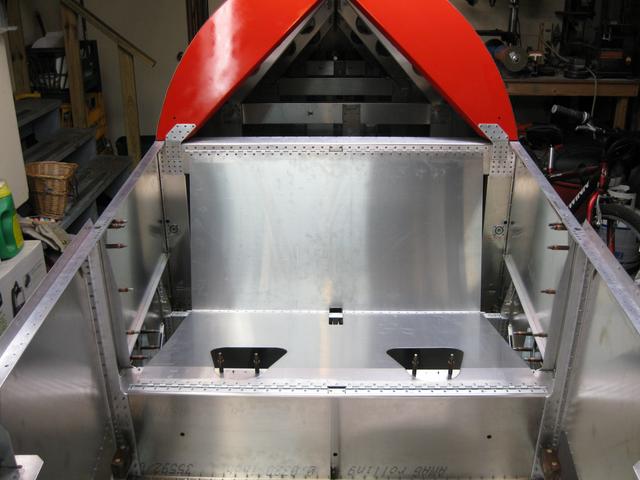
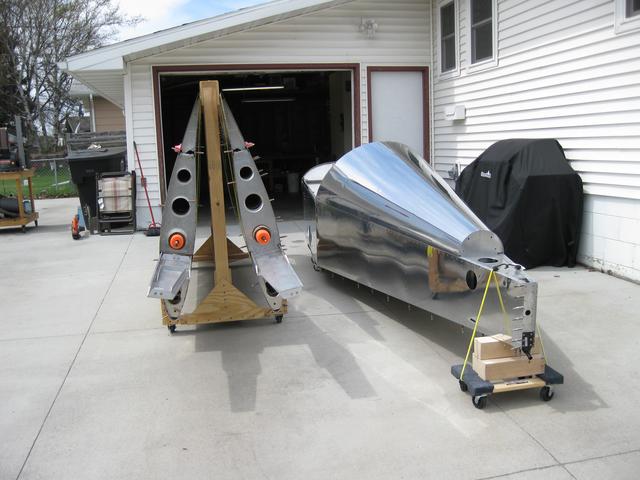
Managed to close the gaps a lot better with some clamping combinations. Flipped the fuselage right side up and finished the upper splice plates. Took a time out and did an aggressive vacuum of the garage and fuselage that I have neglected all winter. Since I have 1/8" clecos left, I reinstalled all the sub floor channels and idler assembly to finish drilling and upsizing.
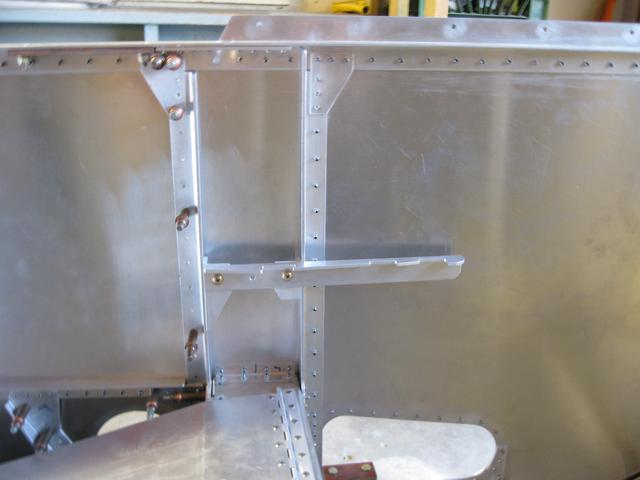
I will have a fitment problem with the F10-02 cap assembly and F15-12 angle clips, seems I too managed to get the placement of the clips a little high during the side panel build up as the corners are not flush with the bottom skin when placed into position. Quickest fix would be to just replace the angle clips and match drill in from the side panel holes. My collection of boogered parts continues to increase..


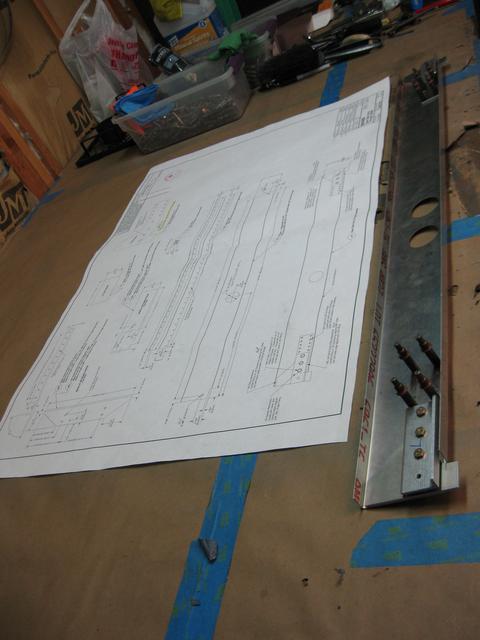
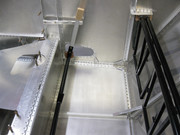
The 02 assembly piloting needs to be finished before upsizing

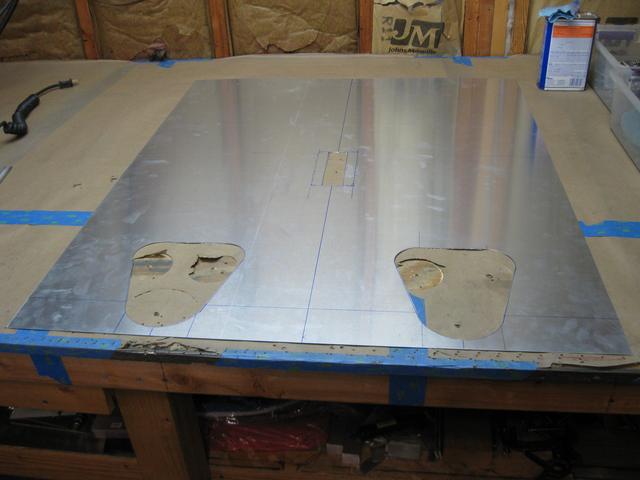
Most of the piloting done, a bit more to go and then upsize for deburring
I will have a fitment problem with the F10-02 cap assembly and F15-12 angle clips, seems I too managed to get the placement of the clips a little high during the side panel build up as the corners are not flush with the bottom skin when placed into position. Quickest fix would be to just replace the angle clips and match drill in from the side panel holes. My collection of boogered parts continues to increase..
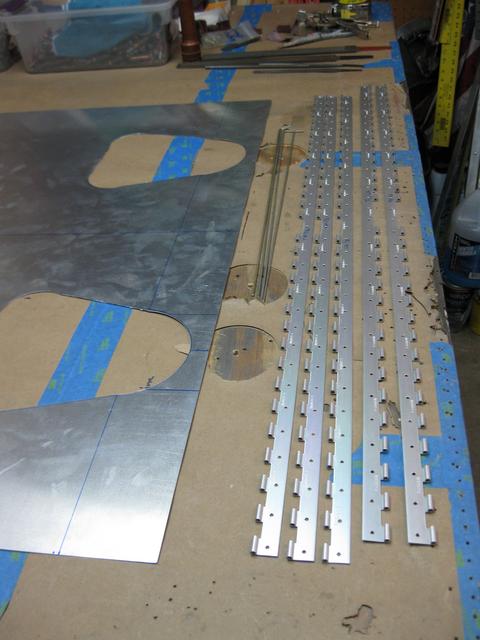
The 02 assembly piloting needs to be finished before upsizing
Most of the piloting done, a bit more to go and then upsize for deburring