Re: Cotton Waiex 191 - N191YX
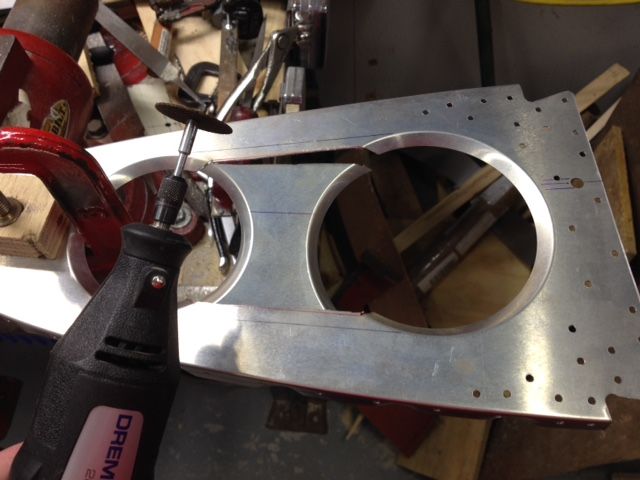
Modified the forward root ribs. Should have done this before!
Hack job:
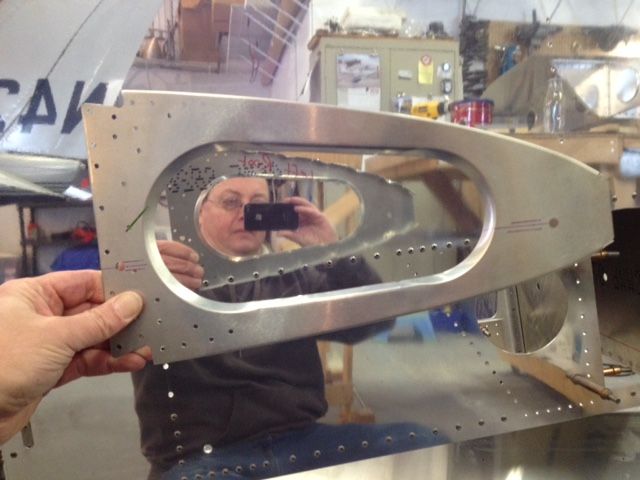
Cleaned up:
Here is a template I made to mount my fresh aero lights. The template was scaled a bit small so I did not use it. I used the dimension from the front of the rib. Also I noticed the dimension for hole spacing on the bracket did not match my parts. My template uses the tooling holes for alignment.
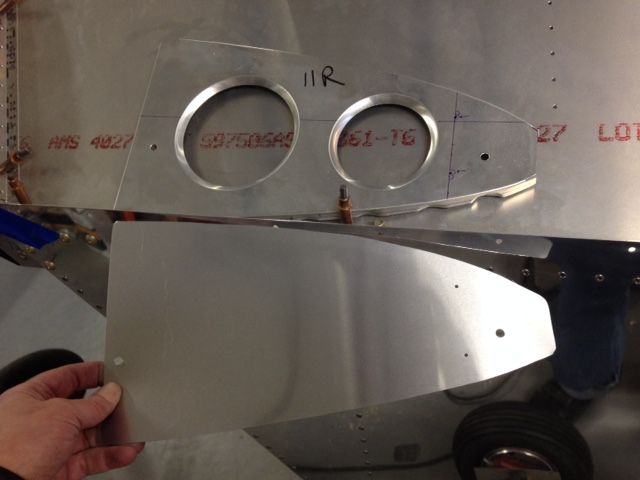
Once I get my brackets mounted it is deburr city. Man there are a lot of holes.
Hack job:

Cleaned up:

Here is a template I made to mount my fresh aero lights. The template was scaled a bit small so I did not use it. I used the dimension from the front of the rib. Also I noticed the dimension for hole spacing on the bracket did not match my parts. My template uses the tooling holes for alignment.

Once I get my brackets mounted it is deburr city. Man there are a lot of holes.

