Page 50 of 160
Re: Cotton Waiex 191 - N191YX

Posted:
Sat May 23, 2015 12:15 amby Bryan Cotton
It seems you can't get the tank out with the angles in. But that is ok.
I did a bunch of little tasks tonight then set up for a leak check:
Filled with H2O, coffee can under the sump:
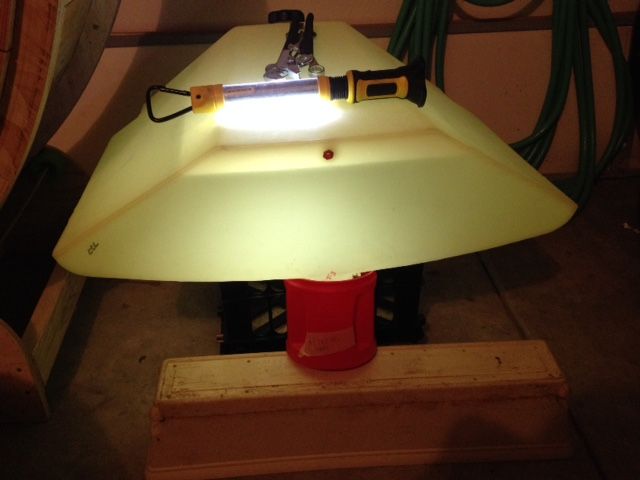
I put a milk crate on my old arc welder dolly, so I can roll it out of the garage and drain it without any lifting.
Re: Cotton Waiex 191 - N191YX
Posted:
Sat May 23, 2015 5:42 amby WaiexN143NM
Bryan,
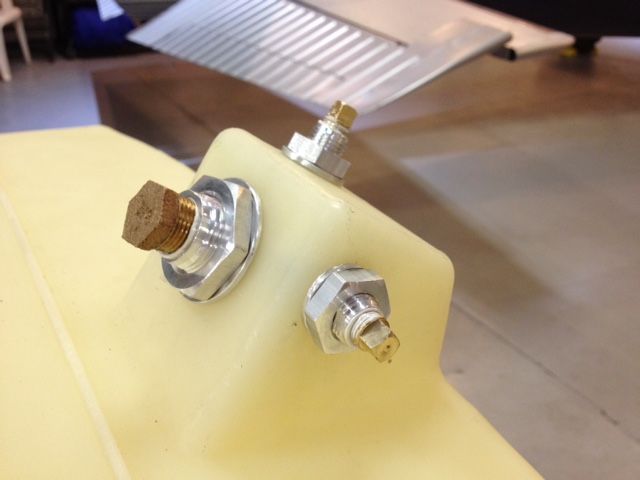
Good job on installing the oops fittings, thanks for all the good pics of the process. I think that is the way to go with the tanks before install into the plane. You are saving yourself a lot of grief later on.
WaiexN143NM
Michael Radtke
Re: Cotton Waiex 191 - N191YX
Posted:
Sat May 23, 2015 9:06 amby Bryan Cotton
Thanks Michael!
Had a little water in the coffee can. How tight do you sock down the oops fittings? Looks like I need to make two tighter.
Re: Cotton Waiex 191 - N191YX
Posted:
Sat May 23, 2015 11:56 amby WaiexN143NM
Hi Bryan!
Let us know if any more drips! Slowly snug up till it stops! Good luck!
WaiexN143NM
Michael Radtke
Re: Cotton Waiex 191 - N191YX
Posted:
Sun May 24, 2015 9:55 amby DCASonex
Bryan,
The tool for grinding the inside surface flat should make it square to the hole, but the hole its self might not be square with the outside surface, thus inside and outside surfaces might not be parallel. Back off the nuts and eye-ball the gap between them and the tank's exterior while pulling out on fitting so it sits square inside. If not good, that hard outside washer may have to be replaced with a more compliant material. O-rings work for that, but then really need to undercut the underside of the nuts to make retaining grooves to keep O-rings from squishing out to the side.
David A..
Re: Cotton Waiex 191 - N191YX
Posted:
Mon May 25, 2015 5:43 pmby Bryan Cotton
David,
I think I ground reasonably perpendicular. I was careful about that.
Here is my leak check setup, rev 2:
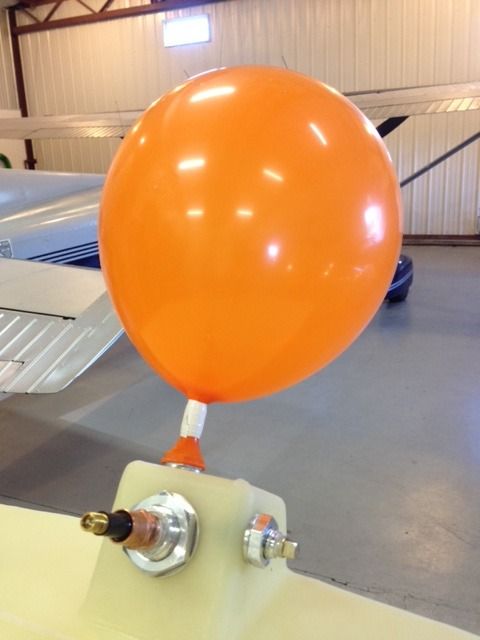
I pressurized the tank and put soapy water on the joints. The big fitting was blowing a lot of bubbles. Took me a few iterations of tightening it before they stopped. I was being conservative. I think my O-rings look like a good fit. After I got the bubbles to stop at the fittings, found my next big leak at the balloon. I had mistakenly used a red one that I had used on the C140 leak check back in 2012. I switched to an orange balloon and it was better. Gotta stick to the color scheme. Lesson learned.
Re: Cotton Waiex 191 - N191YX
Posted:
Tue May 26, 2015 11:52 pmby Bryan Cotton
Twenty four hours later the balloon was still inflated. I declared victory on the leak check.
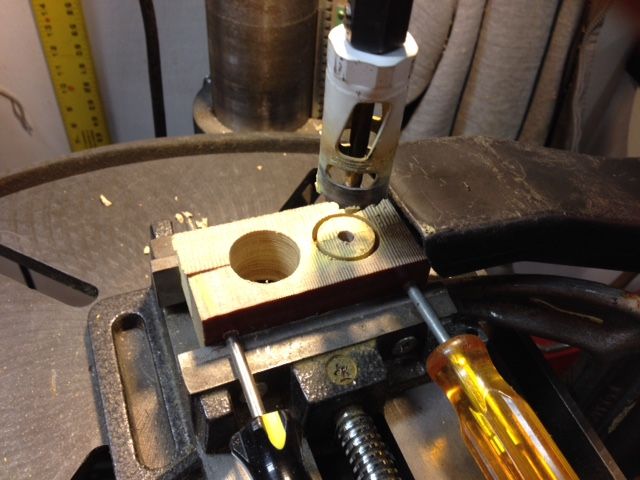
I made rudder pedal blocks tonight. Used my template to transfer holes to phenolic:
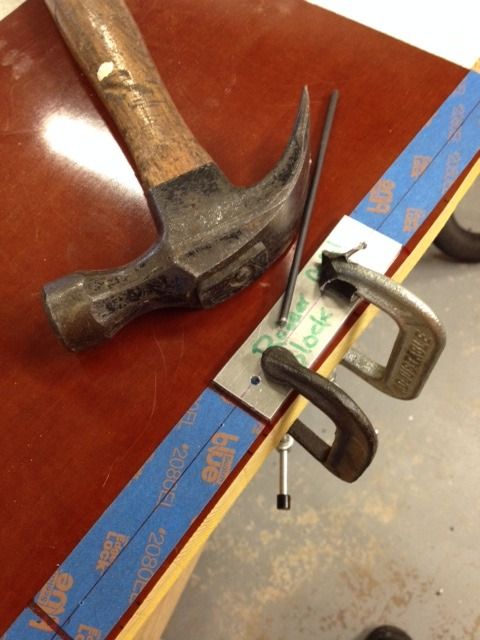
Holesaw time:
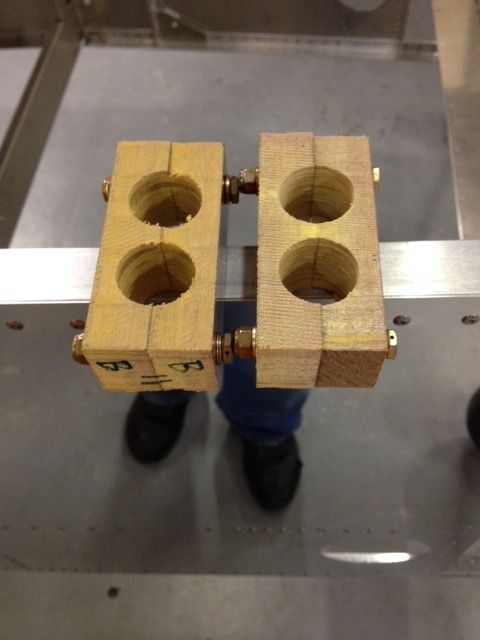
Done except for some belt sander work:
Re: Cotton Waiex 191 - N191YX
Posted:
Wed May 27, 2015 1:33 amby kevinh
Thanks for all your great posts Bryan. Very interesting!
Re: Cotton Waiex 191 - N191YX
Posted:
Wed May 27, 2015 8:15 amby Bryan Cotton
Thanks Kevin! Since you are taking notes for your build, definitely make your phenolic blocks to your parts and not just to the print. I used a transfer punch to transfer holes from my flap bracket to a piece of aluminum scrap. First set we made by measurement and people are just not accurate enough. If you are not going the machined angle kit route, I would make the template to the print and make all the angles and phenolic to the template.
The advantage of the template is you can rivet the angles in and still make phenolic blocks that will bolt up!
Re: Cotton Waiex 191 - N191YX
Posted:
Thu Jun 04, 2015 10:14 pmby Bryan Cotton
Spent some sad time in the hangar last Tuesday making progress. Adam was there earlier but I didn't tell him about the accident until today.
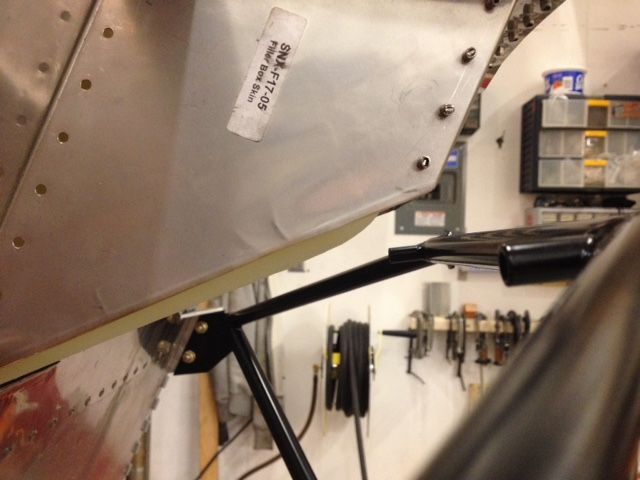
My fuel filler box is too small. So, I decided to cut off the floor and modify it.
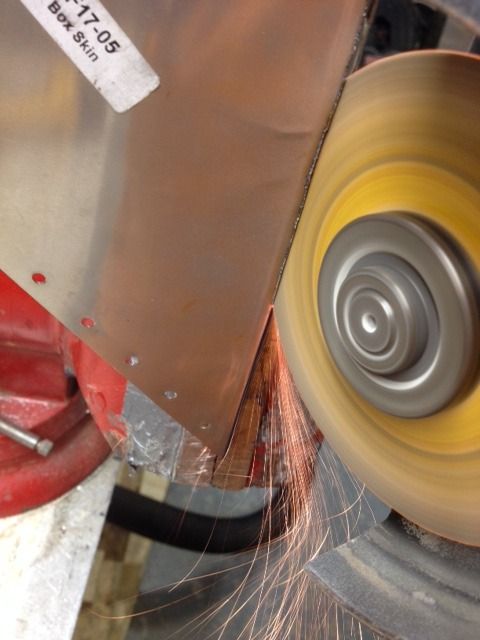
Here is the floor cut out.
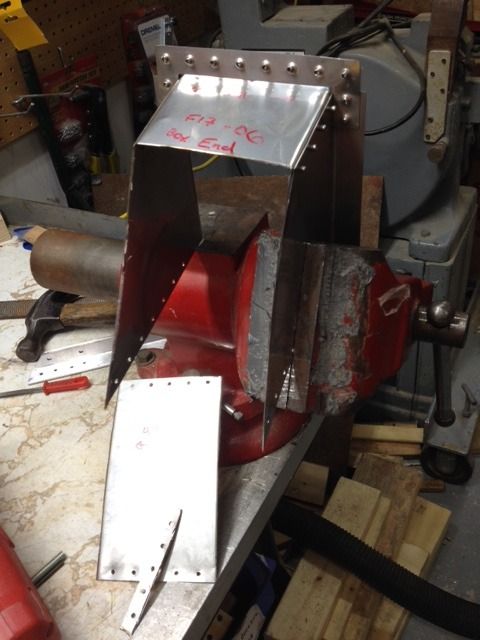
You can see how much the filler neck would interfere by in this picture:
RIP Jeremey and Mike.


