Re: Cotton Waiex 191 - N191YX
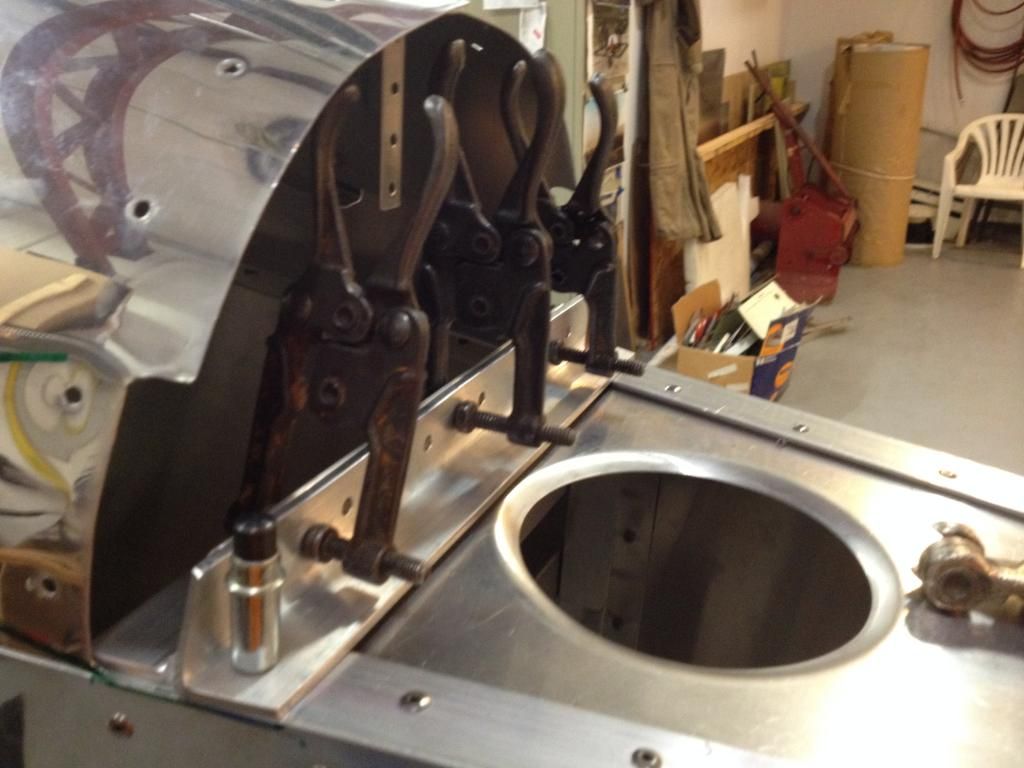
So here is my technique for drilling the critical 1/4" tail hold down holes. First I took out the rivets at the front corners of the shear panel (by the green arrows).

Then I clecoed down my tail mount angle, put a scrap piece of angle behind, and clamped them together:
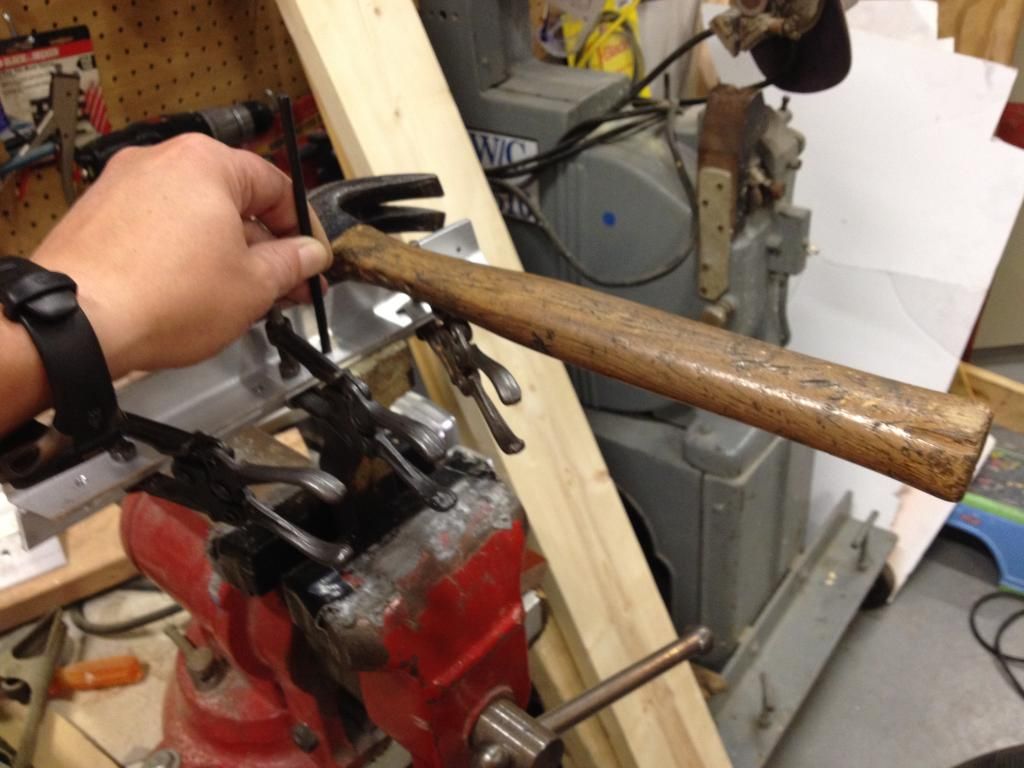
Brought the two angles over to the vise and transferred the holes using my 3/16" HF transfer punch:
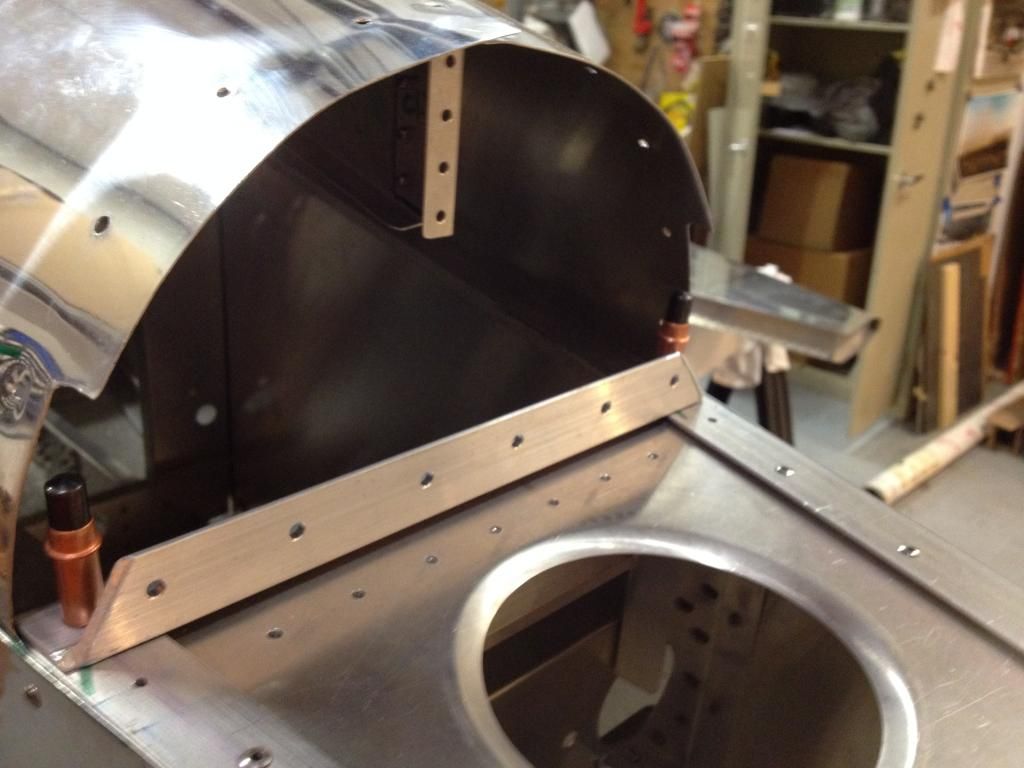
I shot those 6 holes on the drill press, clecoed the angles back together, and clecoed them down using the two holes that want to become 1/4" tail hold downs. I then transferred the holes from the spots where I removed the rivets. That scrap angle now becomes a tool to hold the lower tail mount angle:
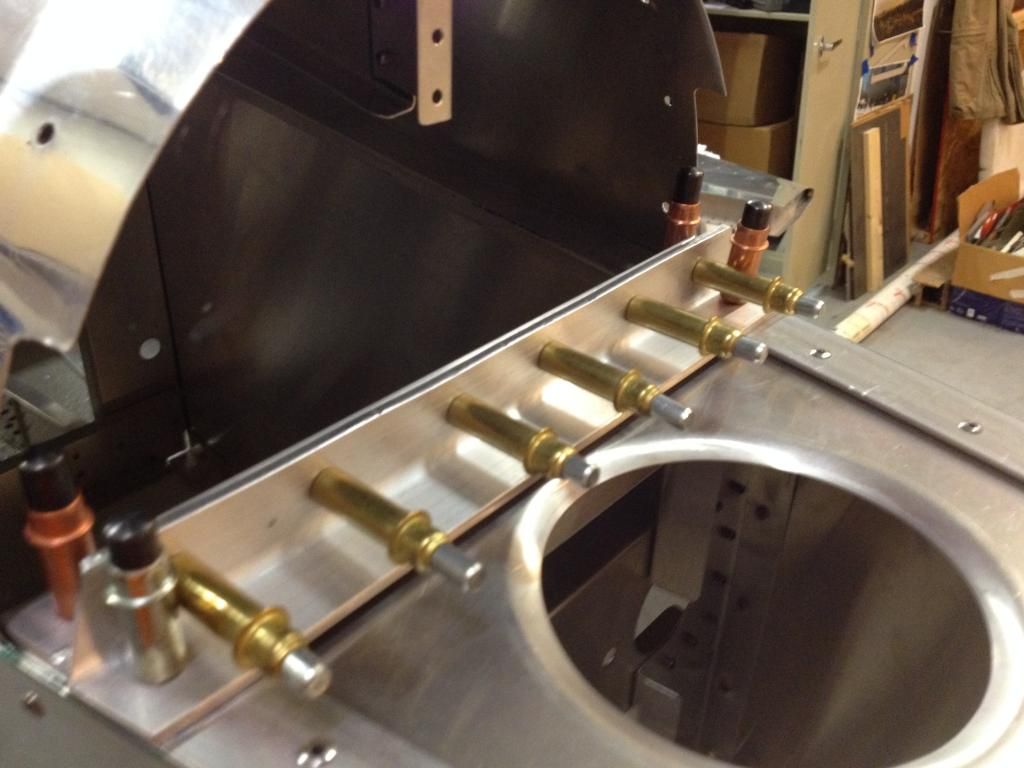
Here are all the clecoes in:
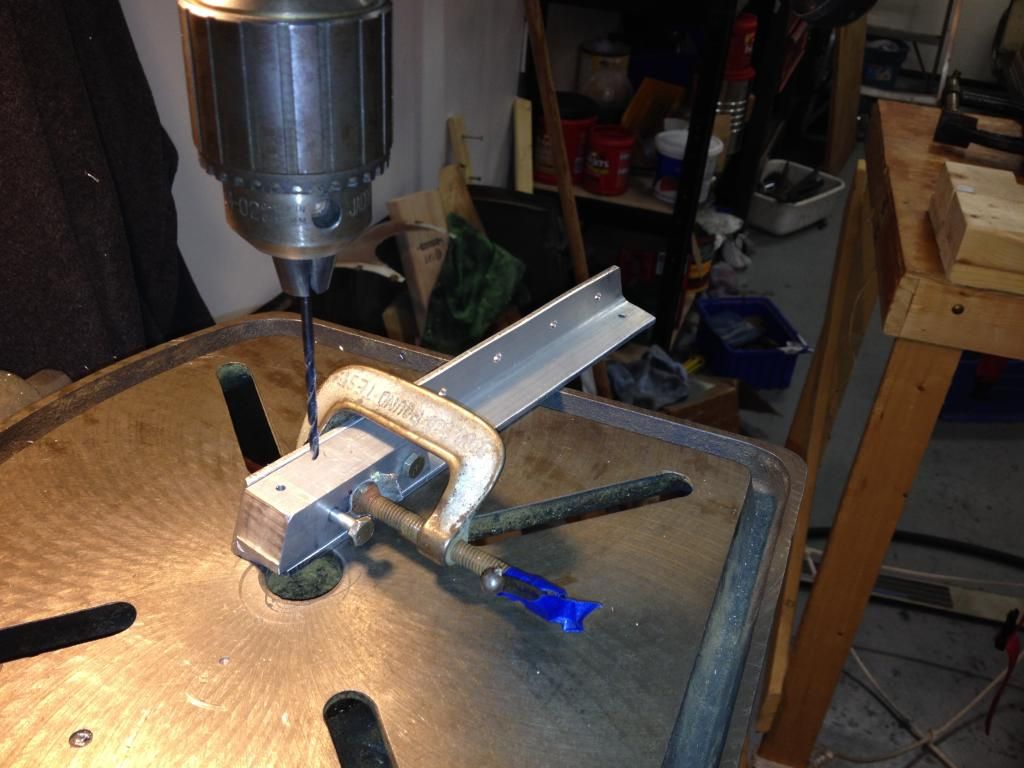
Now I bring up the hole in the block and angle to the next size. In this case I am going from #40 to #30:
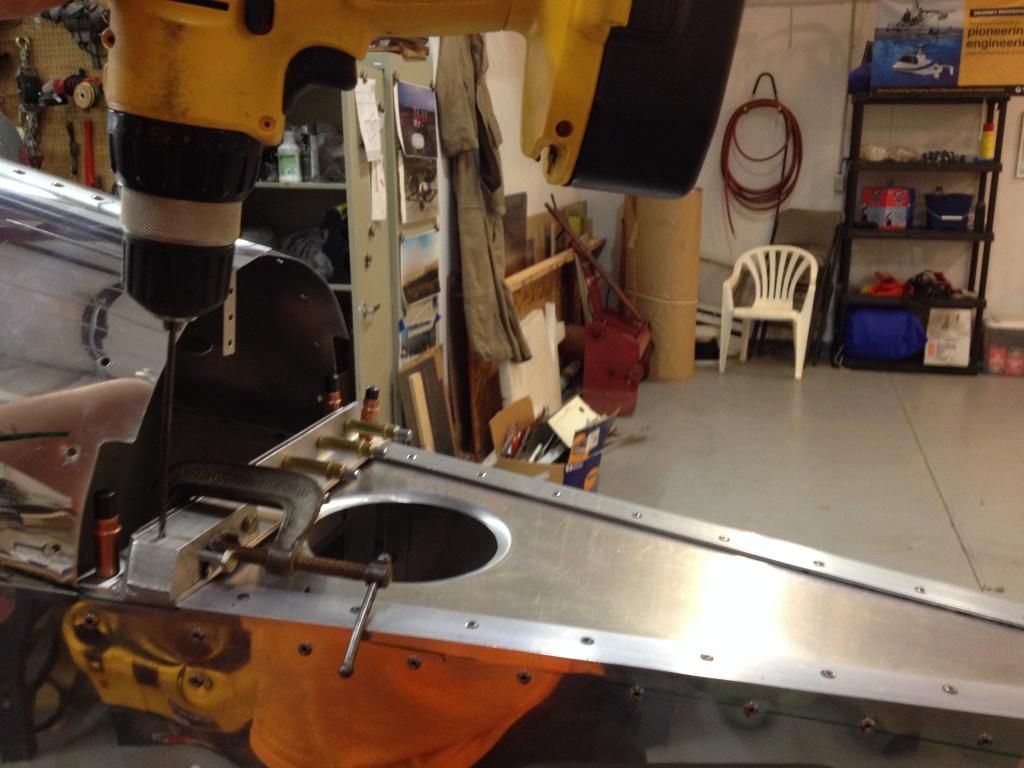
The block and angle now act as a 1" thick guide block to drill the longeron, shear panel, and the angle underneath.
It's almost too easy. For all these holes I have been averaging one hour per hole to final size. Much better than rebuilding the tail. Almost forgot to mention, I used some aluminum pops to rivet the shear panel to the angle underneath temporarily. The angle is clecoed to the verticals underneath. I will take the angle out to deburr then it goes back in for keeps.

Then I clecoed down my tail mount angle, put a scrap piece of angle behind, and clamped them together:

Brought the two angles over to the vise and transferred the holes using my 3/16" HF transfer punch:

I shot those 6 holes on the drill press, clecoed the angles back together, and clecoed them down using the two holes that want to become 1/4" tail hold downs. I then transferred the holes from the spots where I removed the rivets. That scrap angle now becomes a tool to hold the lower tail mount angle:

Here are all the clecoes in:

Now I bring up the hole in the block and angle to the next size. In this case I am going from #40 to #30:

The block and angle now act as a 1" thick guide block to drill the longeron, shear panel, and the angle underneath.

It's almost too easy. For all these holes I have been averaging one hour per hole to final size. Much better than rebuilding the tail. Almost forgot to mention, I used some aluminum pops to rivet the shear panel to the angle underneath temporarily. The angle is clecoed to the verticals underneath. I will take the angle out to deburr then it goes back in for keeps.


