Re: Scott's Sonex #1629 - Progress
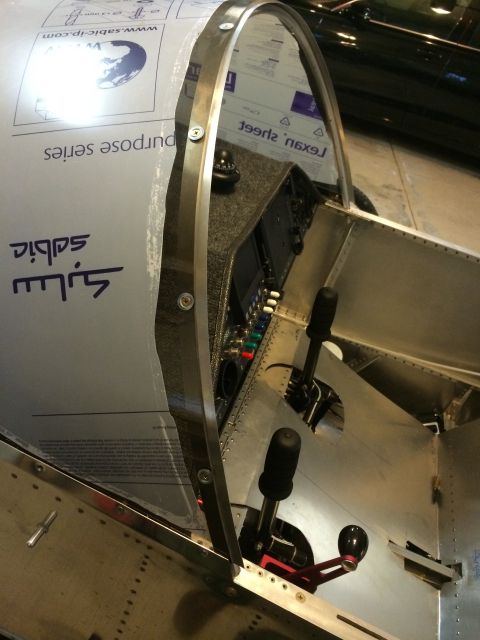
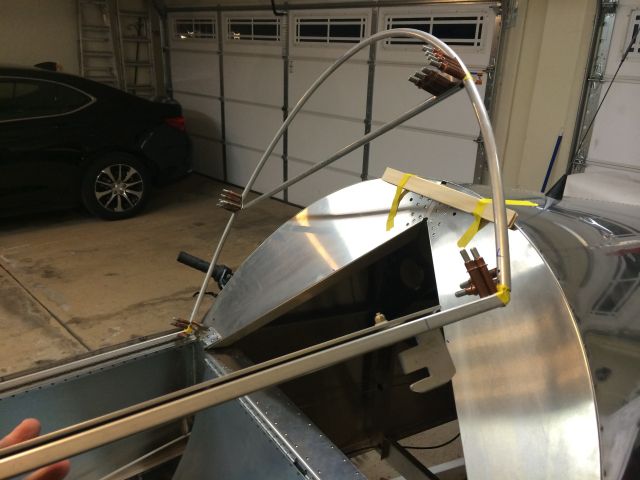
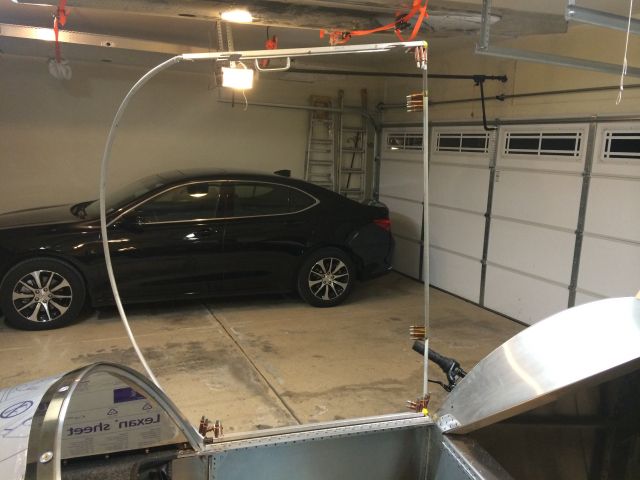
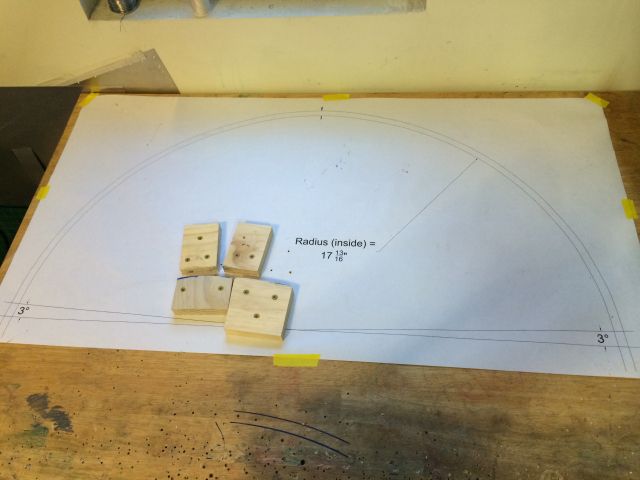
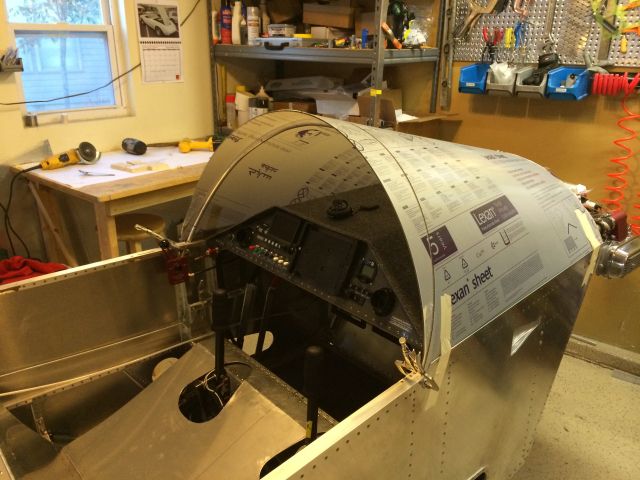
Since last Sunday I have started working on the wind screen fitting and installation. I first had to get the bow to fit right. The "pre-bent" bow from Sonex leaves a lot of bending still to be done at the ends. Used my CAD skills and redrew the radius and plotted a template full scale, then used some solid wood block screwed down on both sides for bending blocks.
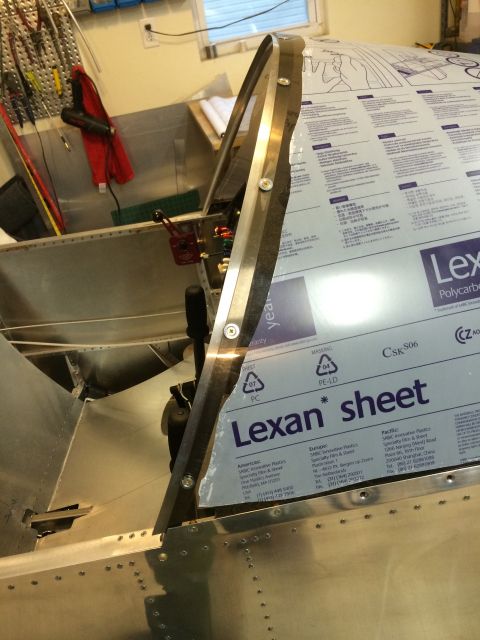
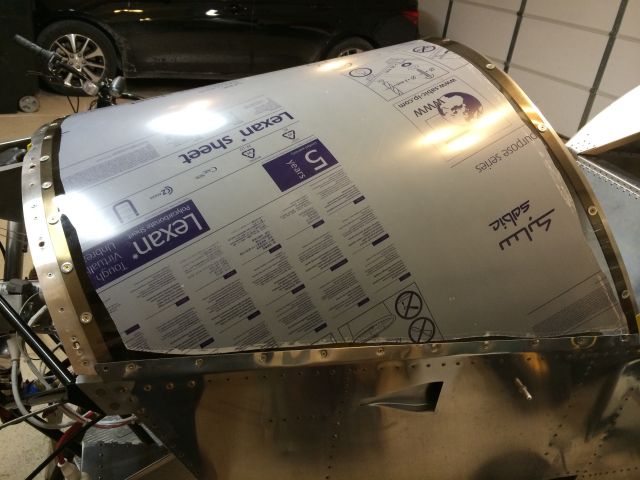
Once I got that to fit into the longeron holes, I started to see what trimming was required on the lexan.
Pretty much as others have done:
1. Left the rear width alone, trimmed the rest of the material away at the routered location Sonex provides.
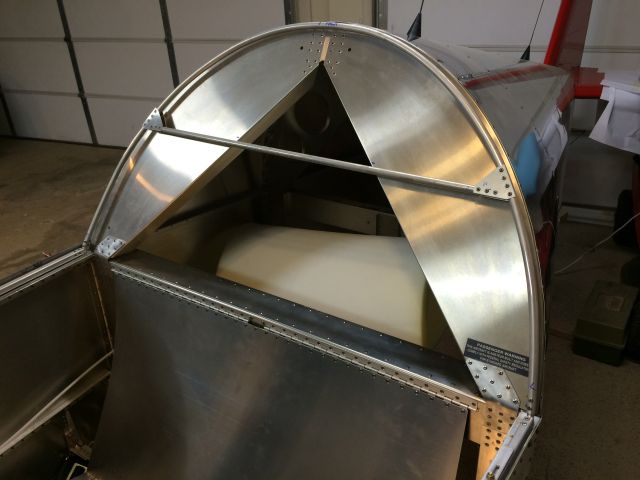
2. Marked up from the front sides about 5/8" on each side and trimmed at a taper from front to rear (caution to others, don't start off by trimming this much away). I thought it would be okay but once I trimmed this much off thought I was in trouble. I moved the rear of the windscreen up to the end of the fuselage extended side so the long portion of the windscreen was hanging over the upper firewall, and I was okay on the width (remember the windscreen panel is essentially a trapezoid with the sides tapering from rear to front).
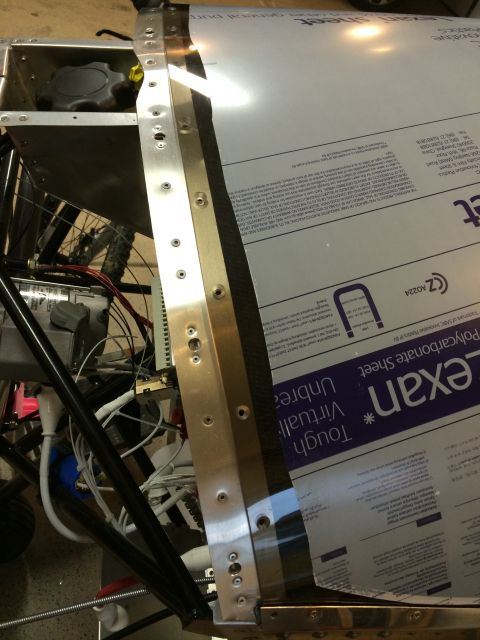
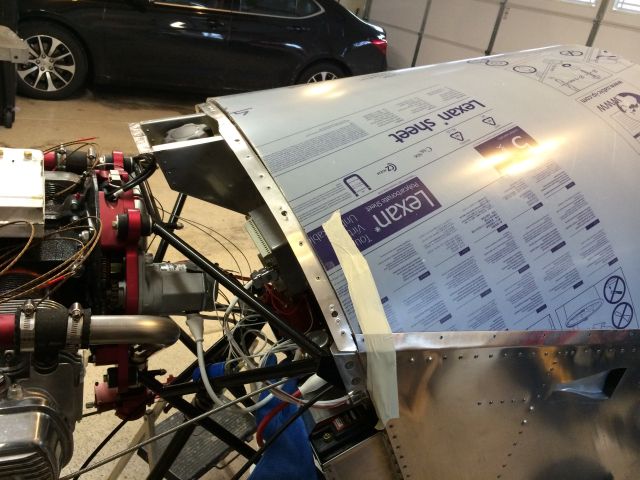
3. Got the rear bow and rear edge to play well together, taped the sides down tight to the fuselage, and marked the front edge 1" in from the front lip of the upper firewall flange (this gives space for the cowling to attach).
4. Sanded all of the cut edges with a belt sander, the flexible foam sanding pads with 120 grit and the. 320 grit.
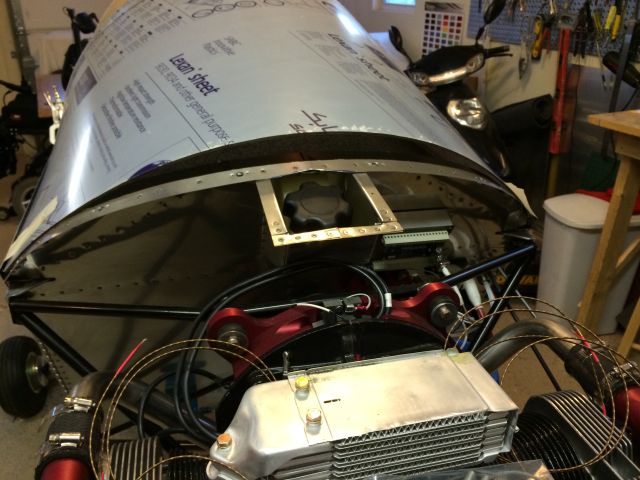
5. Reinstalled the wind screen one more time, made sure everything looked good, and then drilled the holes for the rear bow attach point through the fuselage / upper longeron.
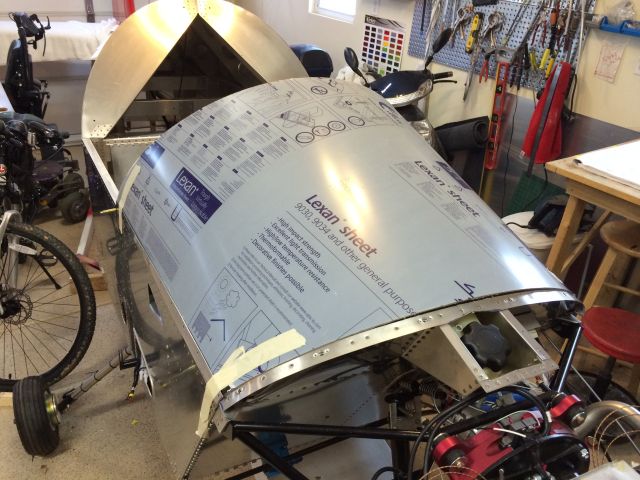
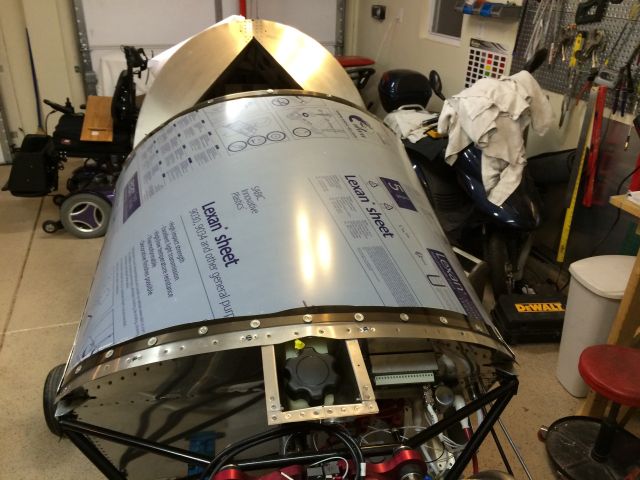
I may have a little fine tuning to do with the front, but when I push down on the middle I can get the edges to squeeze further down at the sides, it's a bit of a 3D puzzle since this is a flat piece of lexan twisting into a semi-complex curve...
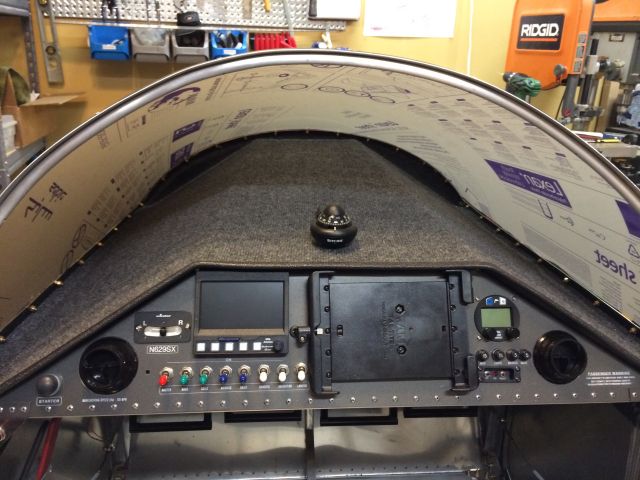
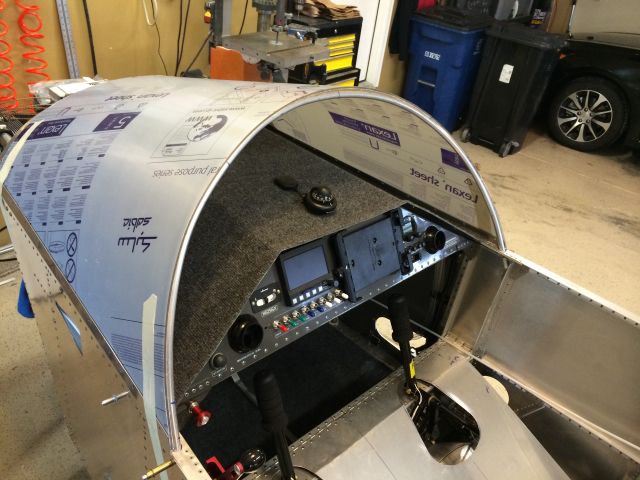
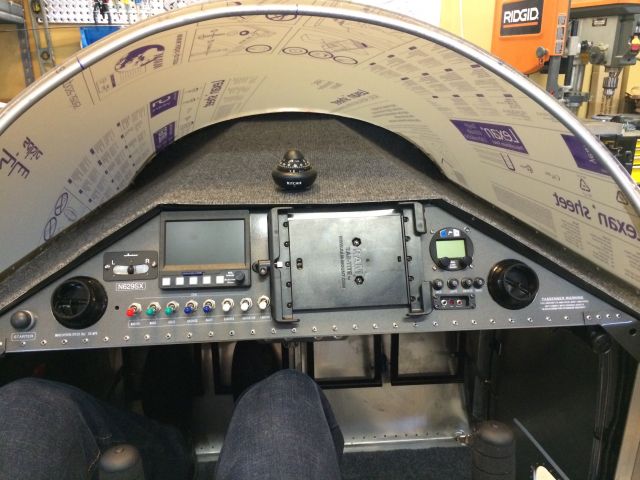
It feels more like a airplane every time I sit inside the cockpit.
Once I got that to fit into the longeron holes, I started to see what trimming was required on the lexan.
Pretty much as others have done:
1. Left the rear width alone, trimmed the rest of the material away at the routered location Sonex provides.
2. Marked up from the front sides about 5/8" on each side and trimmed at a taper from front to rear (caution to others, don't start off by trimming this much away). I thought it would be okay but once I trimmed this much off thought I was in trouble. I moved the rear of the windscreen up to the end of the fuselage extended side so the long portion of the windscreen was hanging over the upper firewall, and I was okay on the width (remember the windscreen panel is essentially a trapezoid with the sides tapering from rear to front).
3. Got the rear bow and rear edge to play well together, taped the sides down tight to the fuselage, and marked the front edge 1" in from the front lip of the upper firewall flange (this gives space for the cowling to attach).
4. Sanded all of the cut edges with a belt sander, the flexible foam sanding pads with 120 grit and the. 320 grit.
5. Reinstalled the wind screen one more time, made sure everything looked good, and then drilled the holes for the rear bow attach point through the fuselage / upper longeron.
I may have a little fine tuning to do with the front, but when I push down on the middle I can get the edges to squeeze further down at the sides, it's a bit of a 3D puzzle since this is a flat piece of lexan twisting into a semi-complex curve...
It feels more like a airplane every time I sit inside the cockpit.